


BumbleBeeSmart · Buying guide · 12-minute read
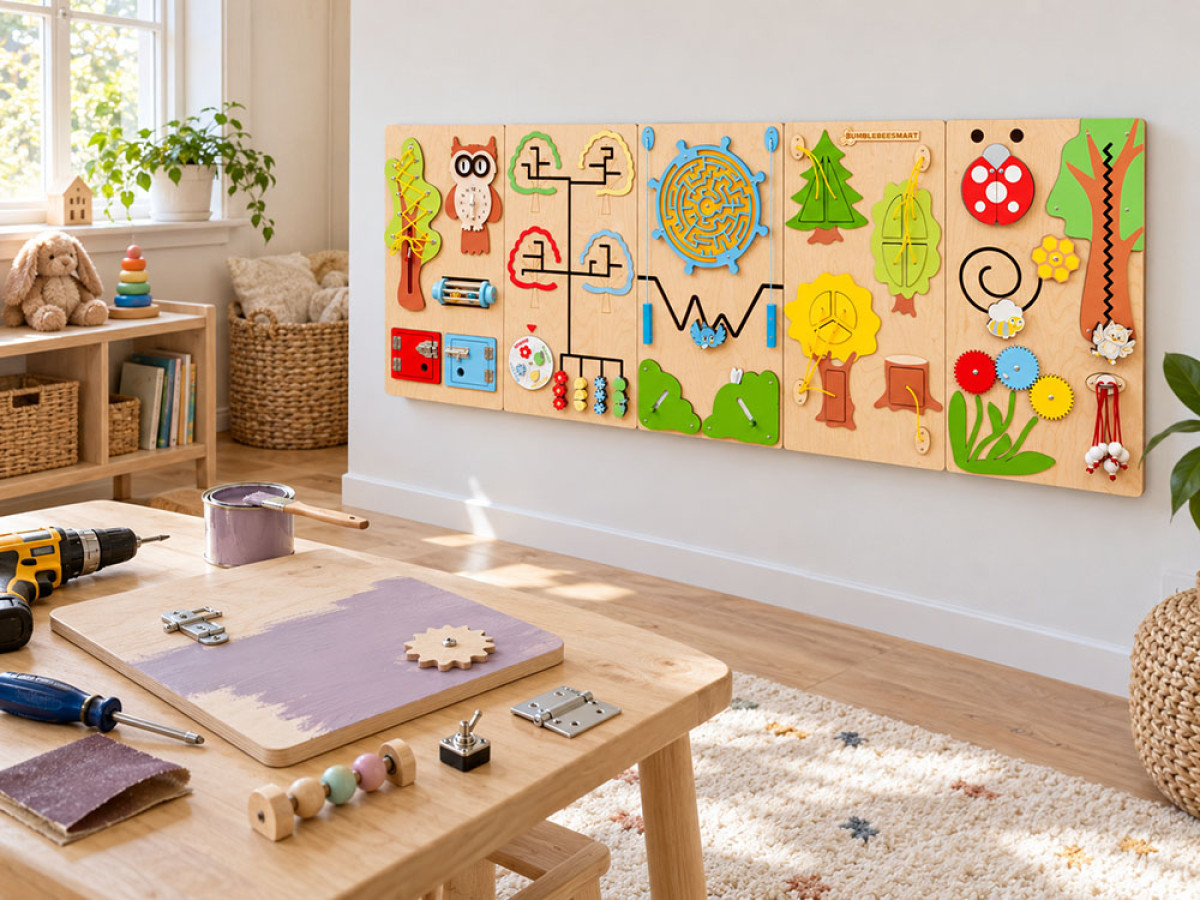
A DIY sensory board is a real option, not just a budget compromise. Plenty of parents, and a few schools, build their own and do it well. This guide covers both sides honestly. It shows how to make a sensory board at home, step by step, and when buying a finished panel makes more sense. One note first. "DIY" gets used loosely in this category. Some listings marketed as DIY, including a few of our own, are really modular configurators. You pick pre-made panels, and there is nothing to build or paint. This guide is about the other kind of DIY, where you buy plywood, hardware and paint separately and assemble the board by hand.
What "DIY" Actually Means Here
A genuine homemade sensory board starts from raw materials. That means a base board, usually plywood, and individual hardware pieces such as latches, gears, sliders and locks. You also need a non-toxic paint or sealant, and the tools to cut, sand and mount everything securely. You are responsible for every safety decision along the way. Rounding edges, checking for pinch points and making sure nothing pulls loose are all on you.
That is different from a listing labeled "DIY" that ships as a finished, professionally made panel. If a product page shows a price per panel and lets you choose a quantity, it is a configurator, not a build project. Worth checking before you assume the label means you will be building anything.
How to Make a DIY Sensory Board, Step by Step
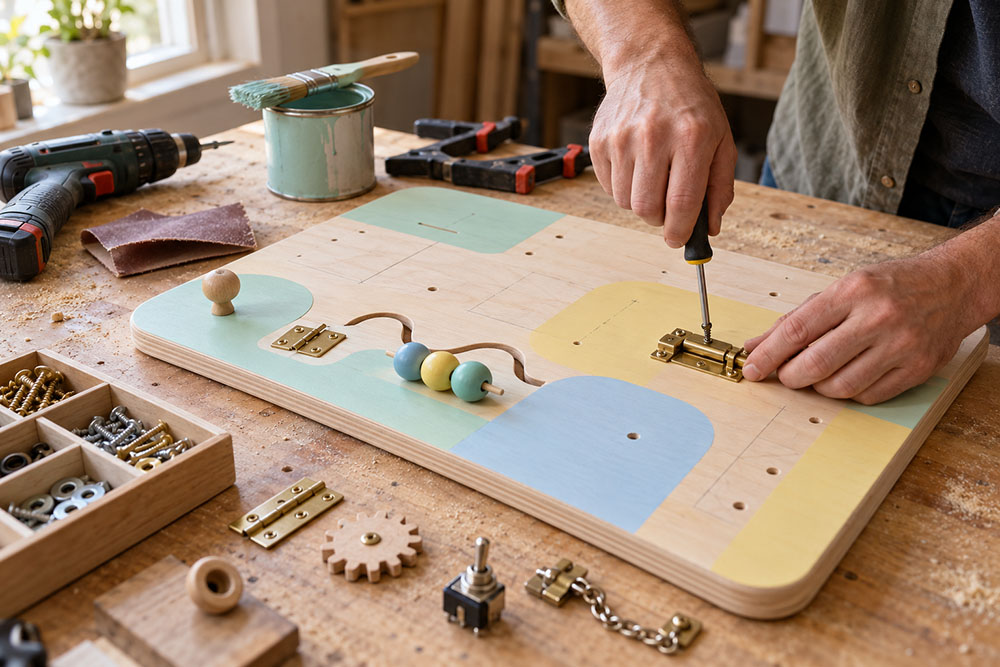
Here is the process most home builders follow. The same steps apply whether you are making a small busy board for a toddler or a larger sensory wall panel.
- Plan the layout first. Sketch the board at full size on paper. Decide which elements go where, and leave space between them so small hands do not get pinched. Put the simplest activities at your child's eye level.
- Choose the base. Birch plywood around 12 to 18 mm thick is a common choice because it holds screws well and resists warping. Cut it to size, or ask the hardware store to cut it for you.
- Round every edge and corner. Use a router with a round-over bit, or sand by hand until no edge feels sharp. Do this before painting, not after.
- Finish the surface. Apply a water-based primer, paint and a matching clear sealant made for surfaces children touch. Let each coat cure fully, following the label, before adding the next.
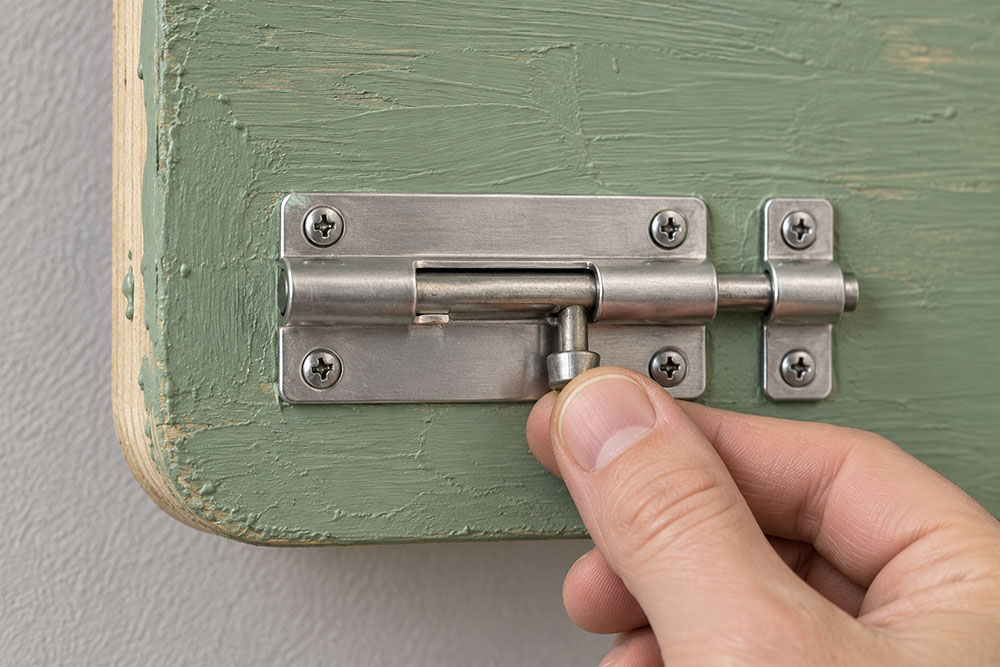
- Attach the hardware from the back. Where you can, fix each element with bolts or screws that go through the board and tighten from behind. Screws driven only from the front are the most common failure point on a homemade sensory board.
- Remove anything small enough to swallow. Check every part, including caps, beads and screw ends. If a piece could come loose and fit in a young child's mouth, replace it or secure it differently.
- Mount the board securely. Fix it into wall studs where possible, or use anchors rated for the board's weight. A board that sits on the floor and leans against a wall can tip.
- Pull-test everything. Pull on each element harder than you think a child could. If anything moves, fix it before the board goes into use, and repeat the check every few weeks.
Materials and Tools Checklist
- Plywood base, cut to size
- Hardware elements: latches, hinges, gears, sliders, switches, locks
- Bolts, washers and screws sized to the board's thickness
- Water-based primer, paint and clear sealant
- Sandpaper in a few grits, or a router with a round-over bit
- Drill, saw (or a store cut), clamps and a screwdriver
- Stud finder and wall anchors rated for the board's weight
For element ideas by age, our guide to the best age for a busy board explains which activities suit each stage.
The Honest Cost Comparison
Raw materials for a basic single-panel board typically cost less upfront than a finished panel of similar size. That is the real DIY advantage, and it is worth taking seriously rather than downplaying. What a materials receipt does not show are the costs below.
Hidden Costs of DIY
None of these make DIY a bad choice. Plenty of builders still come out ahead after counting all of them.
- Tools. A saw, drill, sander or router, and clamps, if you do not already own them. This is usually the biggest hidden cost, and it disappears if you are already equipped.
- Sanding supplies. Sandpaper in several grits, or a round-over bit, to make every edge genuinely smooth.
- Paint and sealant. Leftover paint from another project may not be suitable for a surface young children may mouth or chew. Budget for products made for it.
- Drying time. Paint and sealant need real cure time between coats and again before hardware goes on. This can stretch a weekend project closer to a week.
- Replacement hardware. A first attempt sometimes strips a screw or splits the board. A spare piece or two saves an extra trip to the store.
- Installation. Wall anchors and mounting hardware rated for the board's weight. A store-bought panel needs these too, but they are easy to forget mid-build.
- Your time. A first build commonly takes a full weekend or more. That is worth something, even on a project you enjoy.
Choose DIY If
- You want a hands-on project to build with your kids, not just for them.
- Budget is tight and you already own basic woodworking tools.
- You are making one board for one child, not several for a shared space.
- You are comfortable taking full responsibility for edge safety, hardware security and finishes.
Choose Store-Bought If
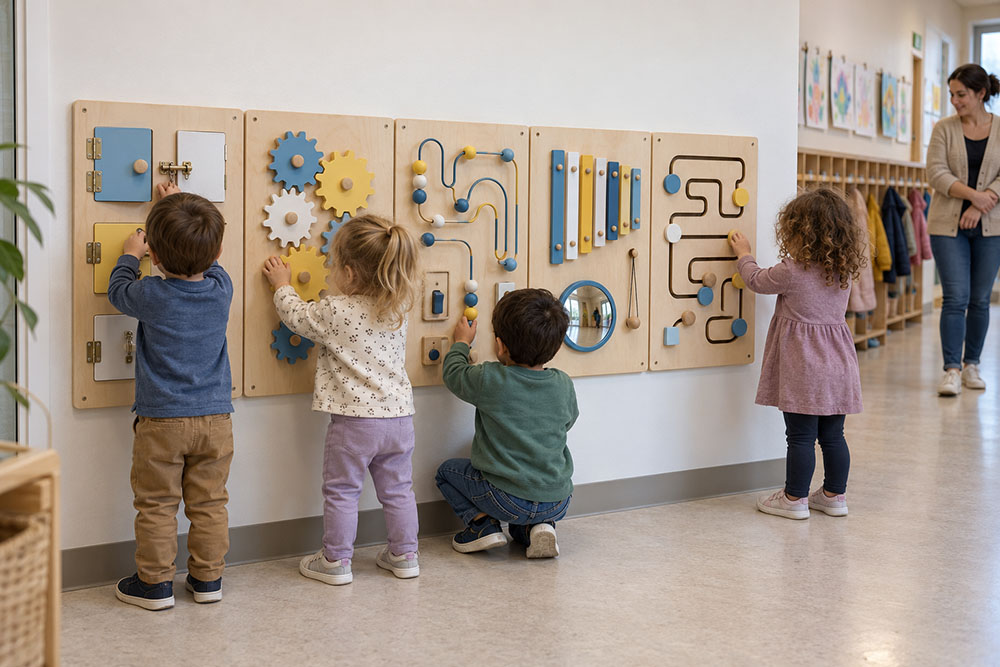
- You are outfitting a school, clinic or daycare where consistency and liability matter.
- You want more than one panel, and building each by hand is not realistic.
- You do not have the tools, time or confidence to secure hardware so a toddler cannot pull it loose.
- You want a specific finish or theme without sourcing and testing materials yourself.
Which Option Fits Your Setting?
Real-World Examples
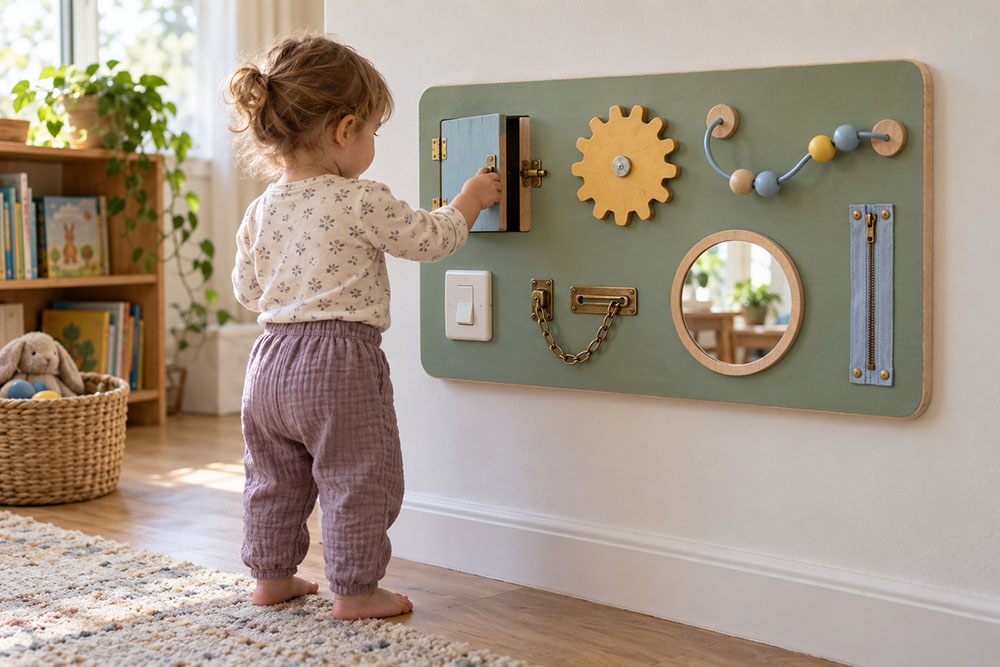
One home board for a toddler. A single board in a playroom is the classic case for DIY, especially if a parent already owns basic tools. If not, a ready-made busy board gets the same result without the tool investment. Shopping for a gift instead? Our guide to busy boards as Christmas presents covers ready-made options.
A daycare or school installation. Several panels, several rooms and a duty of care to other people's children tip this firmly toward store-bought. Building and standing behind several boards by hand usually outweighs the materials savings.
A pediatric clinic or therapy room. A waiting room panel is handled by different children every day and has to look intentional. A professionally finished panel ordered to match the room does that without turning staff into builders.
Where a Configurator Listing Fits In
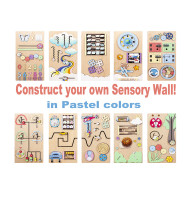
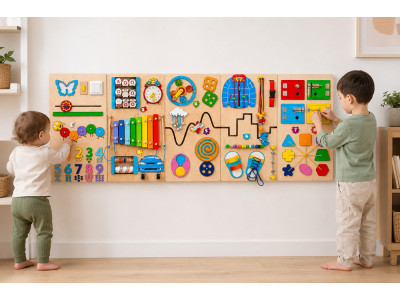
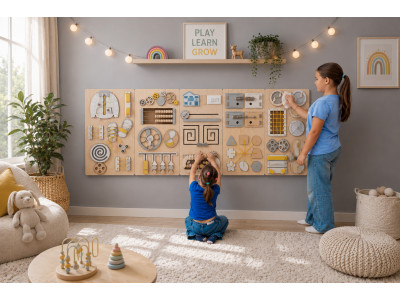
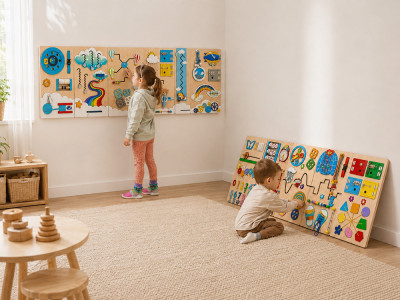
Like the idea of building up a wall panel by panel, but do not want to build anything? A modular listing like our panel-count configurator is a middle path. You choose how many finished panels you want, from a single starter panel to a full wall, and we make each one to order. Nothing to cut, paint or mount hardware into yourself.
Prefer a specific look? Our hand-painted, printed and wooden finish options cover that ground, as does the full theme collection. For larger walls, browse our finished sensory wall panels.
If You Build One Yourself: Safety Basics
A few things matter more than the theme or the paint color. Round every edge. Fix hardware from the back. Use paint and sealant made for children's surfaces. Remove anything small enough to swallow. Test every element by pulling on it, and check again regularly, because screws loosen with use.
Our sensory wall panel safety guide covers materials, mounting and inspection in more depth, and our panel-selection guide helps with sizing. The activities themselves, latches, gears and sliders, are what give children fine motor practice, whichever route you take.
Still deciding? Tell us about your space.
Talk to our teamShare the setting, wall size and who will use it: a home playroom, a daycare or a clinic. We will point you toward what fits, even if you are still leaning DIY.
Frequently Asked Questions About DIY Sensory Boards
How do you make a DIY sensory board?
Plan the layout, cut a plywood base, round and sand every edge, then apply a water-based primer, paint and sealant. Attach hardware from the back with bolts where possible and remove any small parts. Mount the board securely to the wall and pull-test every element before use.
What materials do I need for a homemade sensory board?
You need a plywood base, hardware elements such as latches, gears and sliders, bolts and screws, and water-based paint and sealant. For tools, plan on sandpaper or a router, a drill, clamps and a saw, unless the store cuts the board for you. You will also need wall anchors rated for the board's weight.
Is a DIY sensory board cheaper than buying one?
Usually, yes, on materials alone for a single basic board. That comparison leaves out tools if you do not own them, the time a first build takes, and the effort of getting every fixing secure.
Is it safe to build a busy board myself?
It can be. Round every edge, fix hardware from the back so it cannot be pried loose, remove small parts and use finishes made for children's surfaces. The responsibility for getting all of that right sits with the builder, and regular checks matter as screws loosen with use.
Are your "DIY" listings actual DIY kits?
No. Listings like our panel-count configurator are finished, professionally made panels. You choose how many you want and we make each one to order. Nothing arrives unfinished, and there is nothing to cut, paint or assemble.
Should a school or clinic build its own sensory wall?
Generally, buying makes more sense for institutional settings. Consistency across several panels, liability, and the staff time needed to build boards by hand usually outweigh the materials savings.


-400x300.jpg)
Write a comment